


Woodlore's Quartermaster David Southey sat down recently and kindly wrote this 'how-to' blog article for the few enquiries we have had regarding the binocular/camera cord straps they have seen some of our team using during the courses they have attended.
To make this strap I will be using a four-strand flat plait as shown in Ray Mears Outdoor Survival Handbook on page 62.
You will need the following:
The first job is to snip off the very ends of the cord fibres are free and remove the inner fibres; these can be stored for later projects.
- Eight meters of standard 550 paracord
- Scissors or knife
- A lighter
- A clamp or clip to hold the cord when plaiting
- 2mm accessory cord or similar
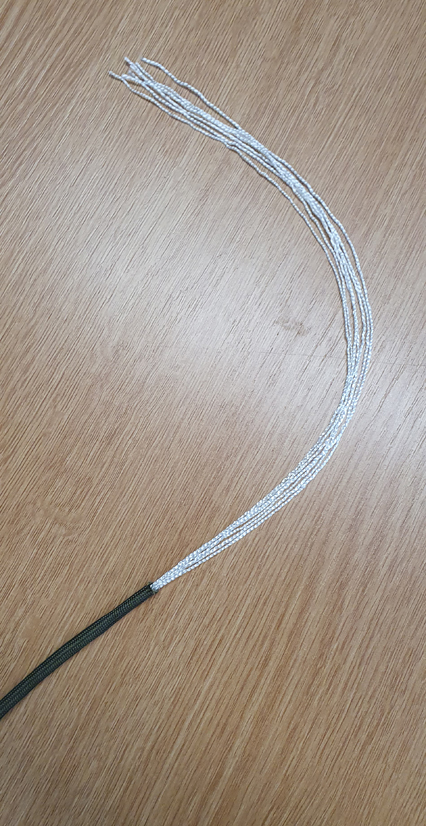
Now cut the cord into four equal lengths, use the lighter to slightly melt all the ends to prevent them from fraying being careful as the melted cord will be hot for a few seconds after you have finished. Then clamp one end of each length in a bulldog clip or similar.
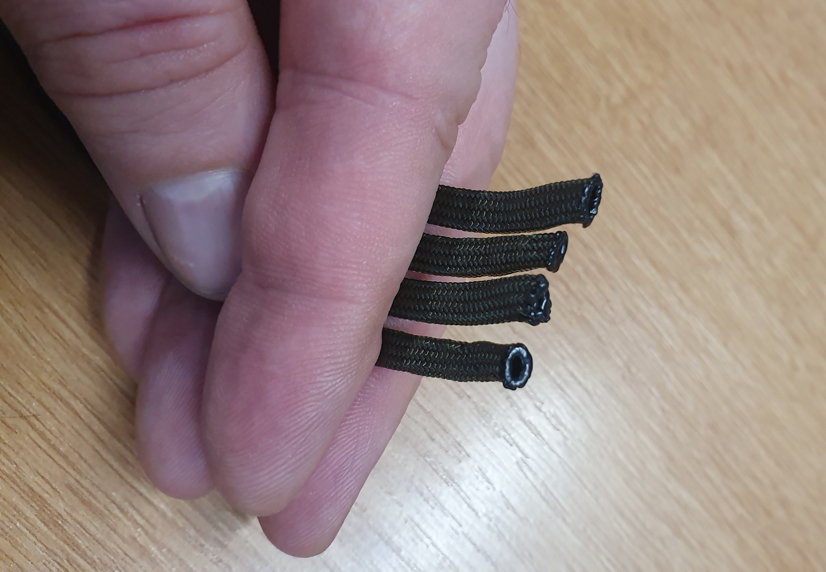
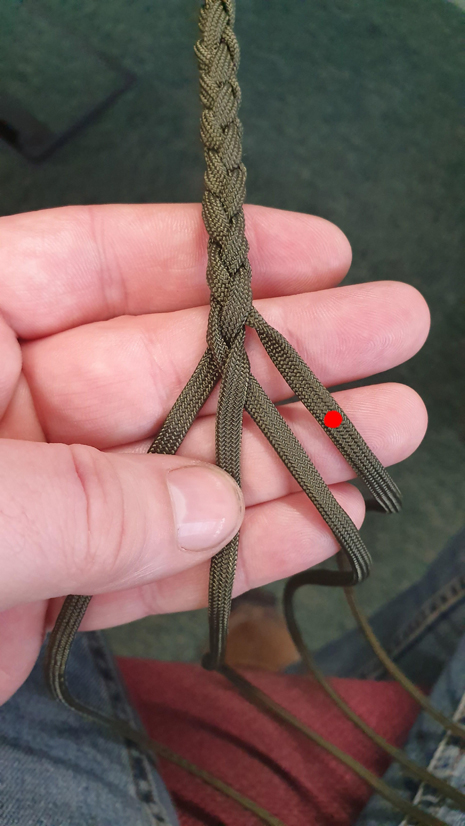
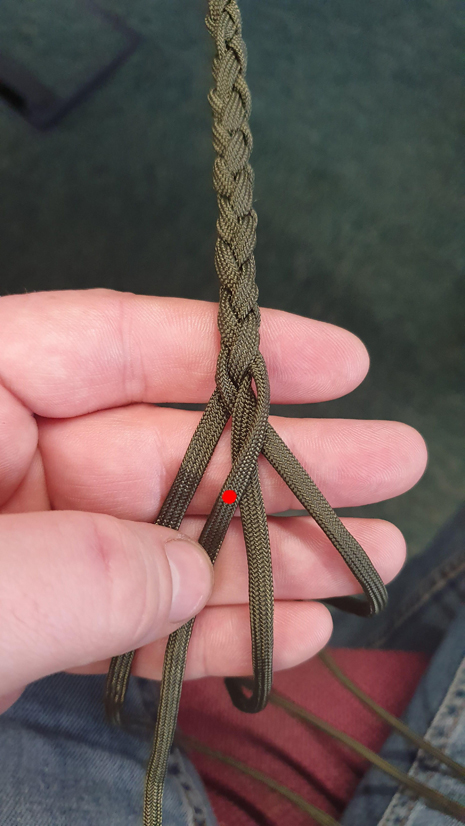
I found it useful to tie the bulldog clip to a table leg to aid with the plaiting. Make sure the plaits are not loose but not overly tight and keep it even. The pattern is a simple repletion of the same move on alternating sides, always taking and outer cord across two middle cords wrapping under the second, here you can follow the cord with the red dot as it moves over the two central cords before wrapping under the second, then the opposite yellow cord performs the same action from the other side and so on repeating until you reach the end of the cords. It is a little fiddly but once you have the pattern fixed in your hands you will fly along.
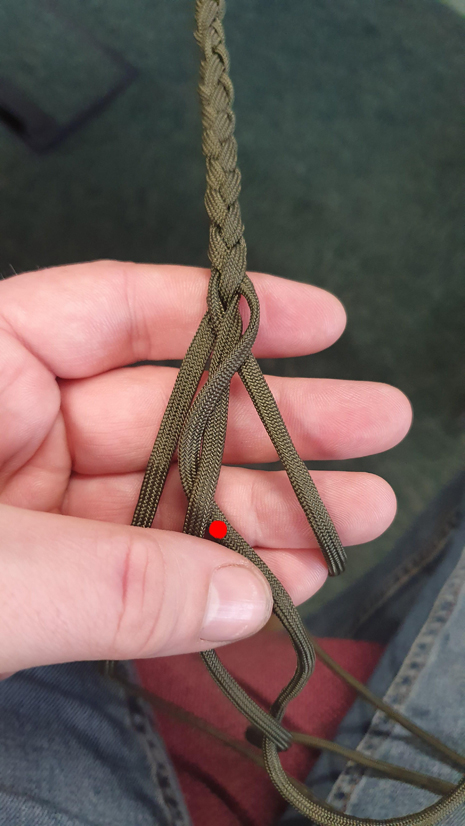
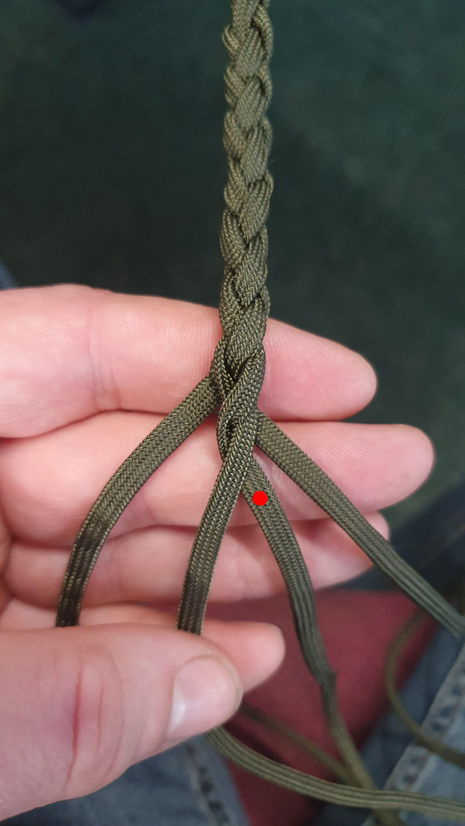
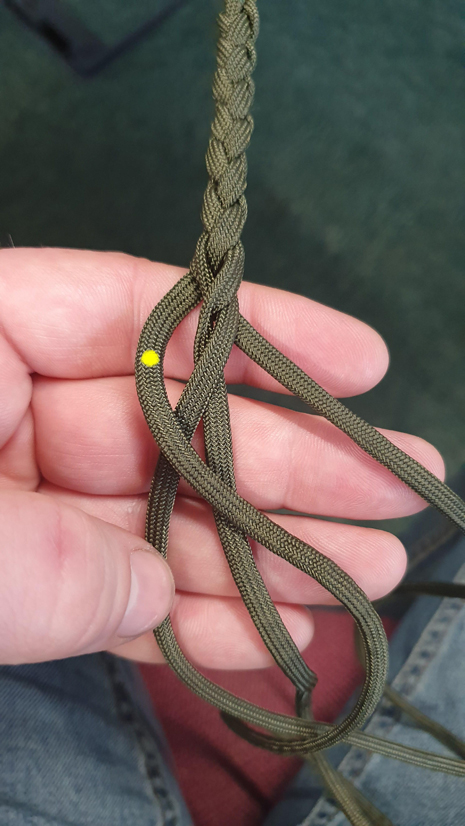
Once all the cord has been used melt the end together to prevent the plait undoing.
Next you’ll need to create an adjustable loop so as to be able to lengthen or shorten the strap depending on weather you want to wear you binoculars around your neck or over your shoulder, do this well use the 2mm accessory cord as follows. NOTE: if attaching to a camera you will want to put the split rings on each end now. First form a loop as shown with the 2mm accessory cord then follow the steps to create an adjustable whipping.
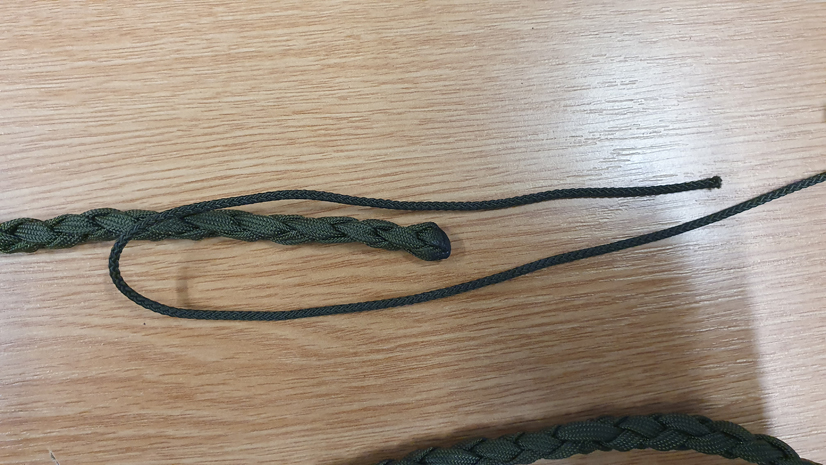
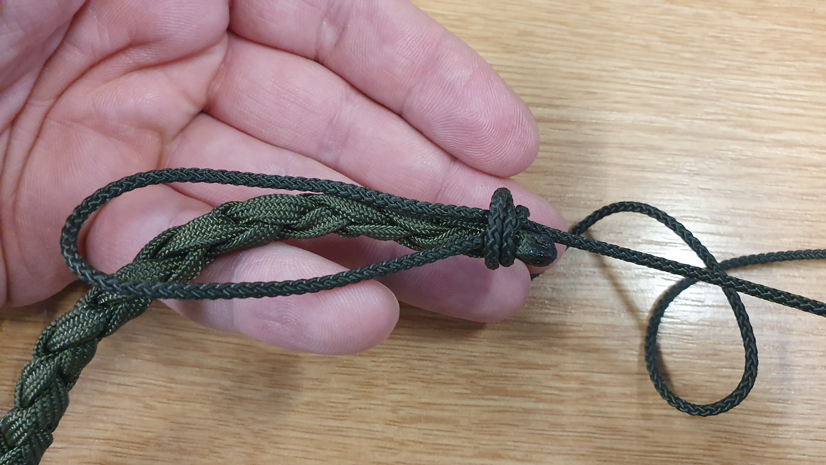
The finish to this whipping is formed by passing the end of the cord that you have been wrapping around the strap through the loop you formed at the beginning then pulling the loop closed so that the knot formed is held under the whipping.
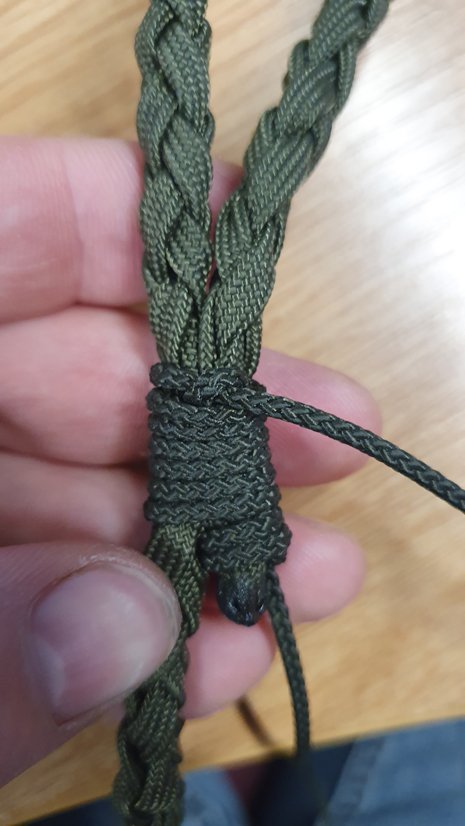
Then snip the ends and gently melt the cut ends. Leaving you with a neat strap, to adjust simply hold the whipping firmly and pull the cord either way to lengthen or shorten your strap.
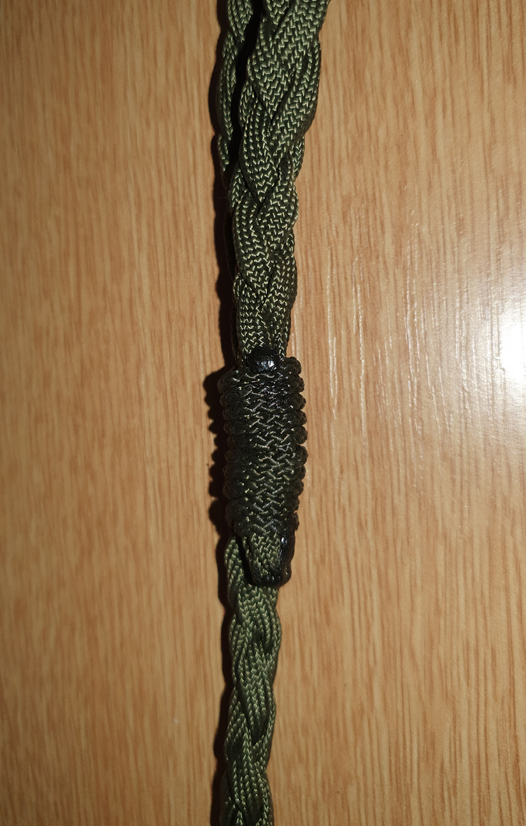
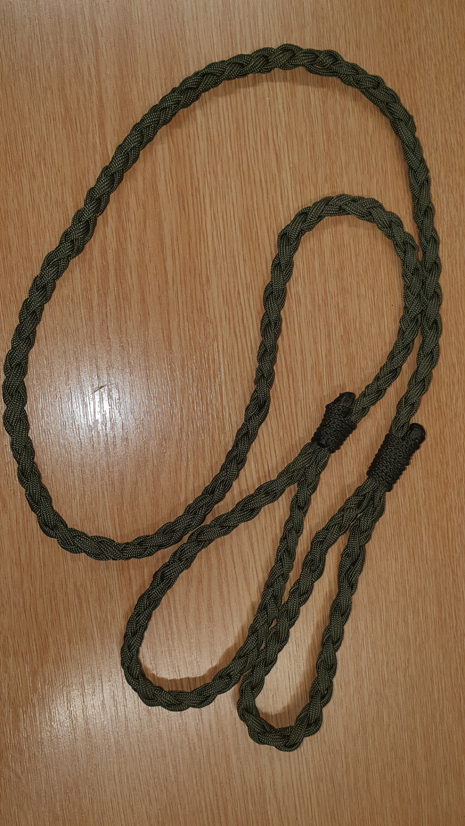
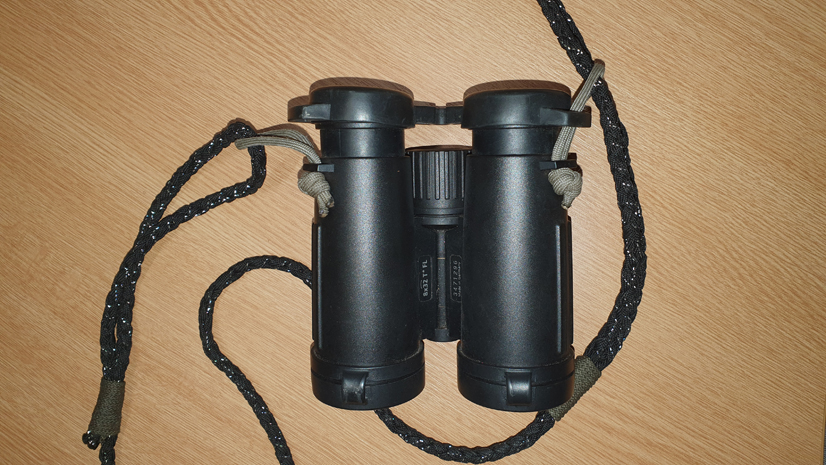
When wearing any equipment for long periods of time I recommend lengthening the strap to enable you wear over one should and across your body to reduce wear on your neck.
- David Southey


Leave a comment
All comments are moderated before being published.